Quick Start
In the last blog 【Hexo】Part 1. How to Setup Blog with Hexo and NexT on GitHub Pages, we learned how to setup up a blog web with Hexo and deploy it from local to GitHub Pages.
In this blog, it will talk about how to deploy you blog automatically with the CI tool Github Action.
Prepare the Config File of the Theme
As metioned in the last blog, we are now using the github submodule to manage the theme NexT. The submodule can be initialized on Github Action with command git submodule update --init. However, we will lose the changes we have made in the config file themes/next/_config.yml. There are several ways to resolve this:
- Fork the
NexTin our repository and commit the changes of the config. But we will need to do something more whenNexTis updated. - Copy all the things into the main config file
_config.yml. This will make the_config.ymla little confusing. - Backup the config file in the main repository and overwrite the original one in the Github Action.
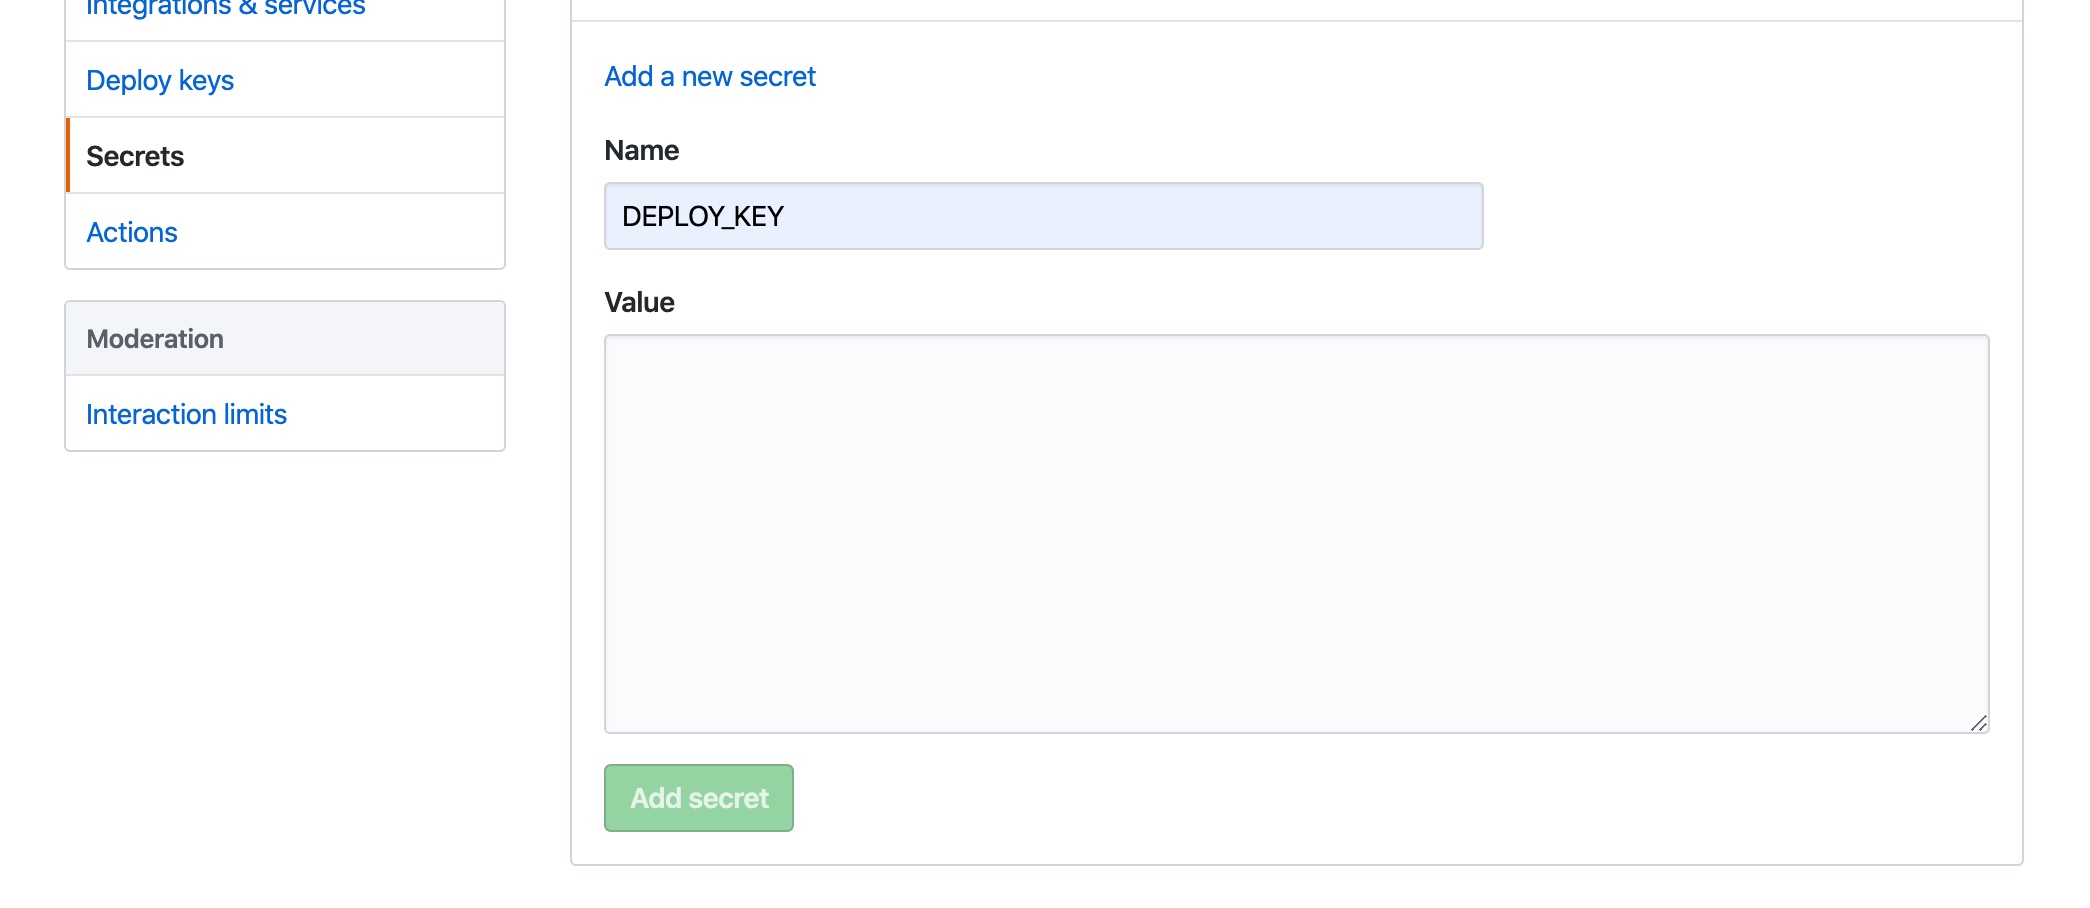
Set DEPLOY_KEY
Copy the SSH key to DEPLOY_KEY in secrects of Github Repository
1 | cat ~/.ssh/id_rsa |

Workflow Config File
.github/workflows/deploy.yml
1 | name: Hexo Deploy |
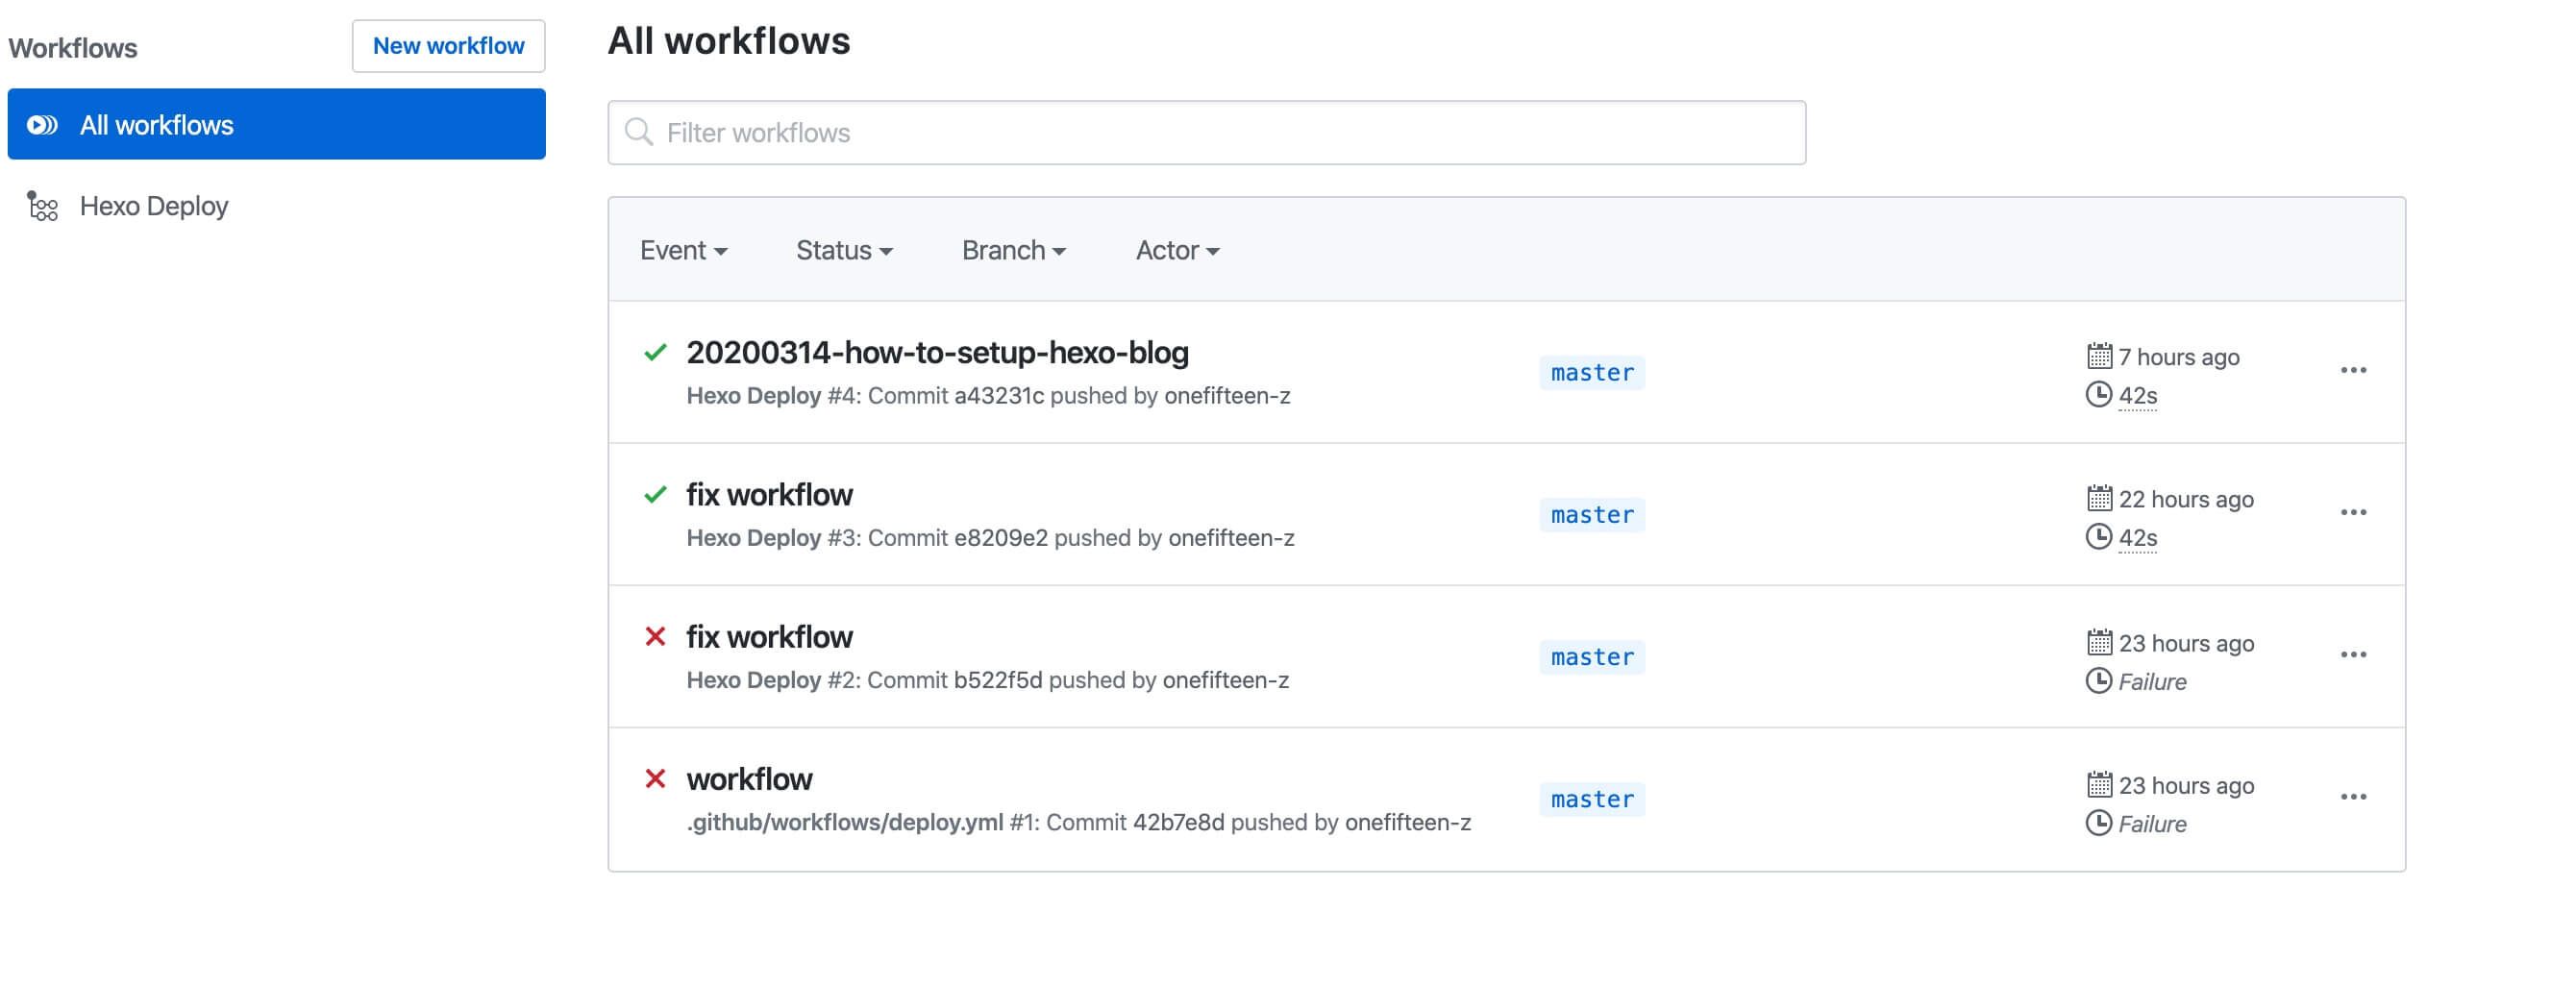
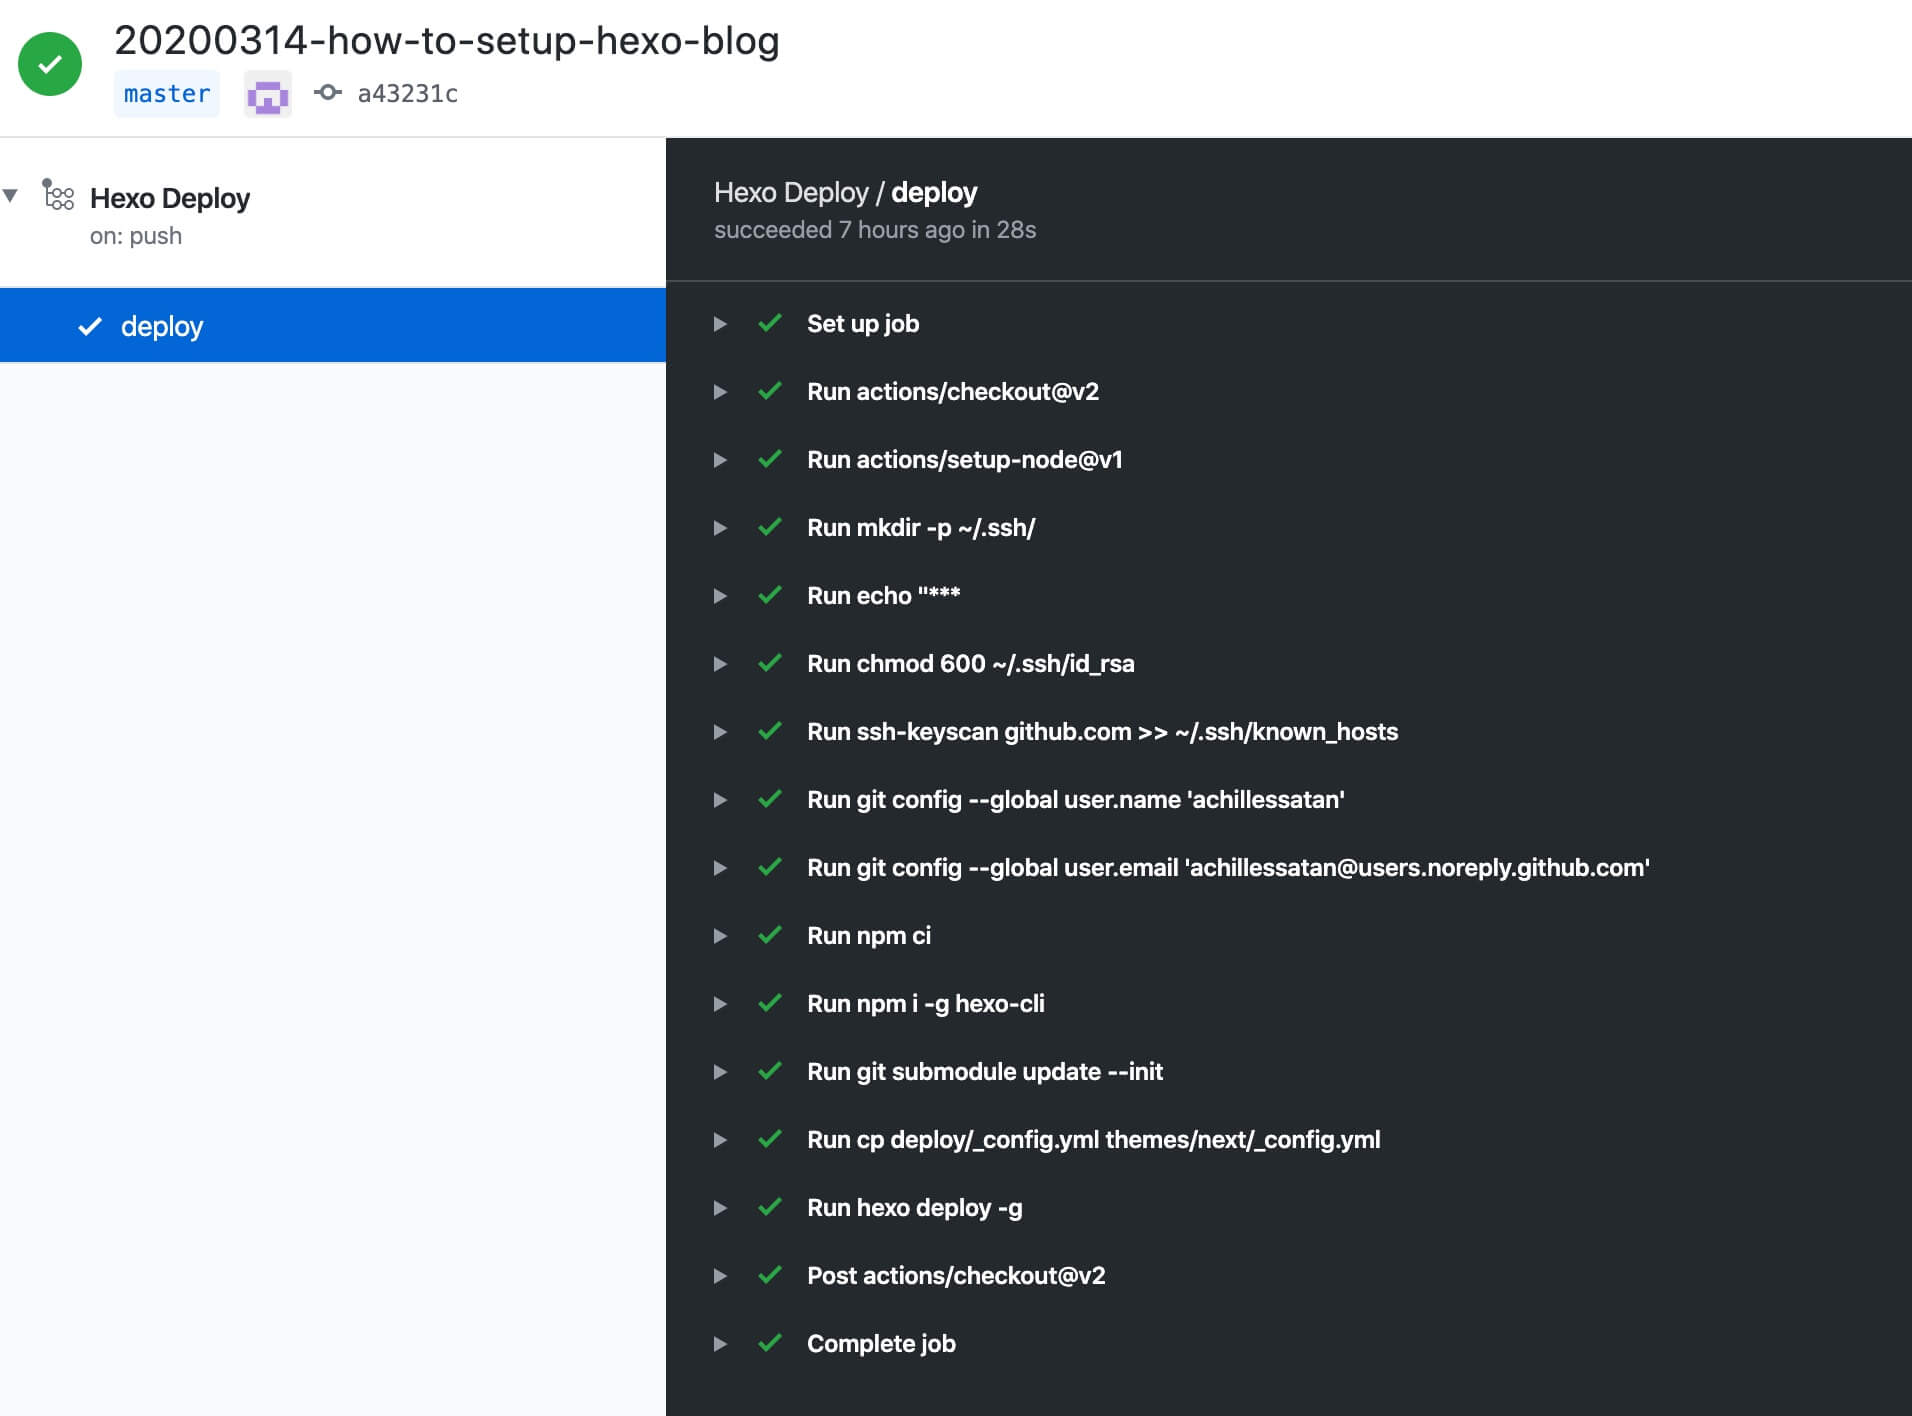
Check the Result of Deployment
The action will be triggered when master branch was pushed. After that, we can check the result of the action in the Action tab of the repository.

