Quick Start This article simply talks about how to setup blog with Hexo and NexT and deploy it to GitHub Pages.
Install Node.js & npm with Homebrew Install Hexo Create New Project 1 2 3 $ hexo init blog INFO Copying data to ~/Documents/blog INFO You are almost done ! Don't forget to run ' npm install' before you start blogging with Hexo!
Following the instruction,run npm install
Setup Theme - NexT 1 2 cd bloggit submodule add https://github.com/theme-next/hexo-theme-next themes/next
It is a little different from official document. It will be helpful in the next step(【Hexo】2. How to Deploy Hexo Project with Github Actions ).
Change the theme in ./config.yml to next.
Start Server on Local 1 hexo clean && hexo g && hexo s
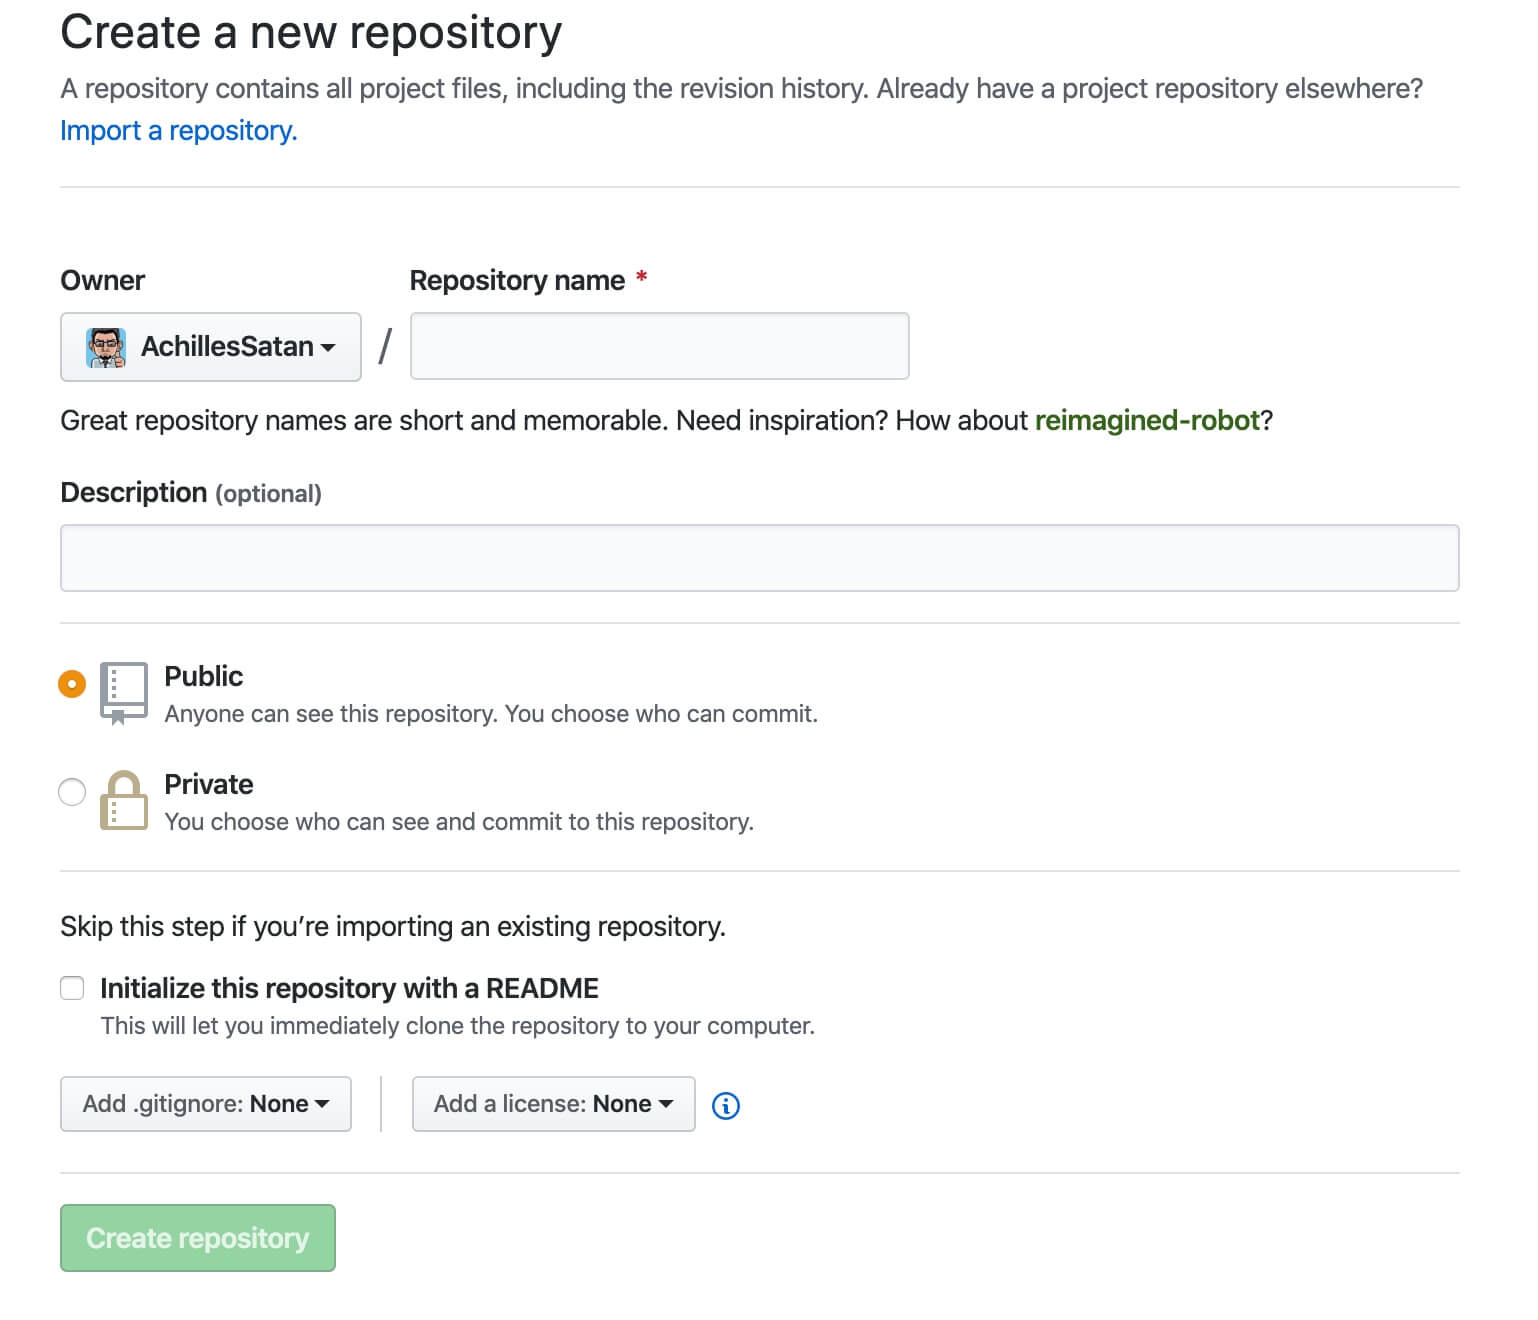
Deployment Create a repository on GitHub with the name of {USERNAME}.github.io:
Install the plugin of deployment:
1 npm install hexo-deployer-git --save
Add the config of deployment in ./_config.yml
1 2 3 4 5 6 deploy: type: github repo: git@github.com:xxxx/xxxx.github.io.git branch: master
Excute the command of deployment:
Now you can access to your own blog by https://{USERNAME}.github.io.
Others Plugins Recommended
1 npm install hexo-abbrlink --save
1 2 Plugins: - hexo-abbrlink
1 2 npm install hexo-generator-sitemap --save npm install hexo-generator-baidu-sitemap --save
1 2 3 4 5 6 7 8 9 10 Plugins: - hexo-generator-sitemap - hexo-generator-baidu-sitemap sitemap: path: sitemap.xml baidusitemap: path: baidusitemap.xml
1 npm install hexo-generator-feed --save
1 2 3 4 5 6 7 8 9 Plugins: - hexo-generator-feed feed: type: atom path: atom.xml limit: 20
Add robots.txt in source folder 1 2 3 4 5 6 7 8 9 10 11 12 13 14 # hexo robots.txt User-agent: * Allow: / Allow: /archives/ Disallow: /vendors/ Disallow: /js/ Disallow: /css/ Disallow: /fonts/ Disallow: /vendors/ Disallow: /fancybox/ Sitemap: https://{USERNAME}.github.io/sitemap.xml Sitemap: https://{USERNAME}.github.io/baidusitemap.xml
Comman commands 1 2 hexo new "postName" hexo new page "pageName"
